On Friday night I attended a "Master Class" cooking demonstration for the Thermomix, hosted by Justine Schofield. Those of you who are MasterChef fans will remember Justine from Series one. Justine has only recently become acquainted with the Thermomix, but is a huge fan. She is currently working on adapting a lot of her recipes using the Thermomix. At this session she shared a few of her recipes with us.
She started the evening off by making a lovely Gazpacho that was topped with a sour dough crumble, or "Sand" as she called it, olive tapenade and quail eggs. The main course was a piece of steamed barramundi, topped with Charon Bérnaise, and for dessert she divulged the ingredients for George's Olive Oil Chocolate Mousse, her twist was to serve it in a chocolate tart. It was all very nice I must say!
I had already planned, as I always do, my menu for the weekend - we were going to have a salmon dish, but when I was at the fish shop I was persuaded to try the silver dory instead of the salmon. As I really did not have a plan in mind for how I was going to serve the the dory I thought why not try the Charon Bérnaise to top the fish!
Now if you are like me, I was not entirely sure what a Choron Bérnaise was - I looked over the list of ingredients several times trying to discern what the "Choron" actually was, of course looking for a magical ingredient. I have since found out that Choron is the rose tint given by adding tomato puree to either hollandaise or Bérnaise sauce, and is named after chef Alexandre Etienne Charon who invented the sauce.
Reading a little about Charon I am inclined to think he may have been the Heston Blumenthal of his time - he was certainly a little out there. Charon was at the height of his fame in1870, during the Siege of Paris. During this time Parisians were reduced to eat domestic animals due to meat shortages. Apparently the bourgeois didn't like this idea and so Charon started eying off the animals in the zoo (they were a little more exotic!) For the 1870 Christmas feast he presented his patrons a meal that included the stuffed head of a donkey, elephant consomme, roasted camel, wolf in deer sauce, cat with rat and the piece de resistance - antelope in truffle sauce. He achieved quite some notoriety for his elephant dishes these included Elephant in chasseur sauce and Elephant Bourguinon!! Anyway I digress - there were no wild animals involved in this meal you can be rest assured!

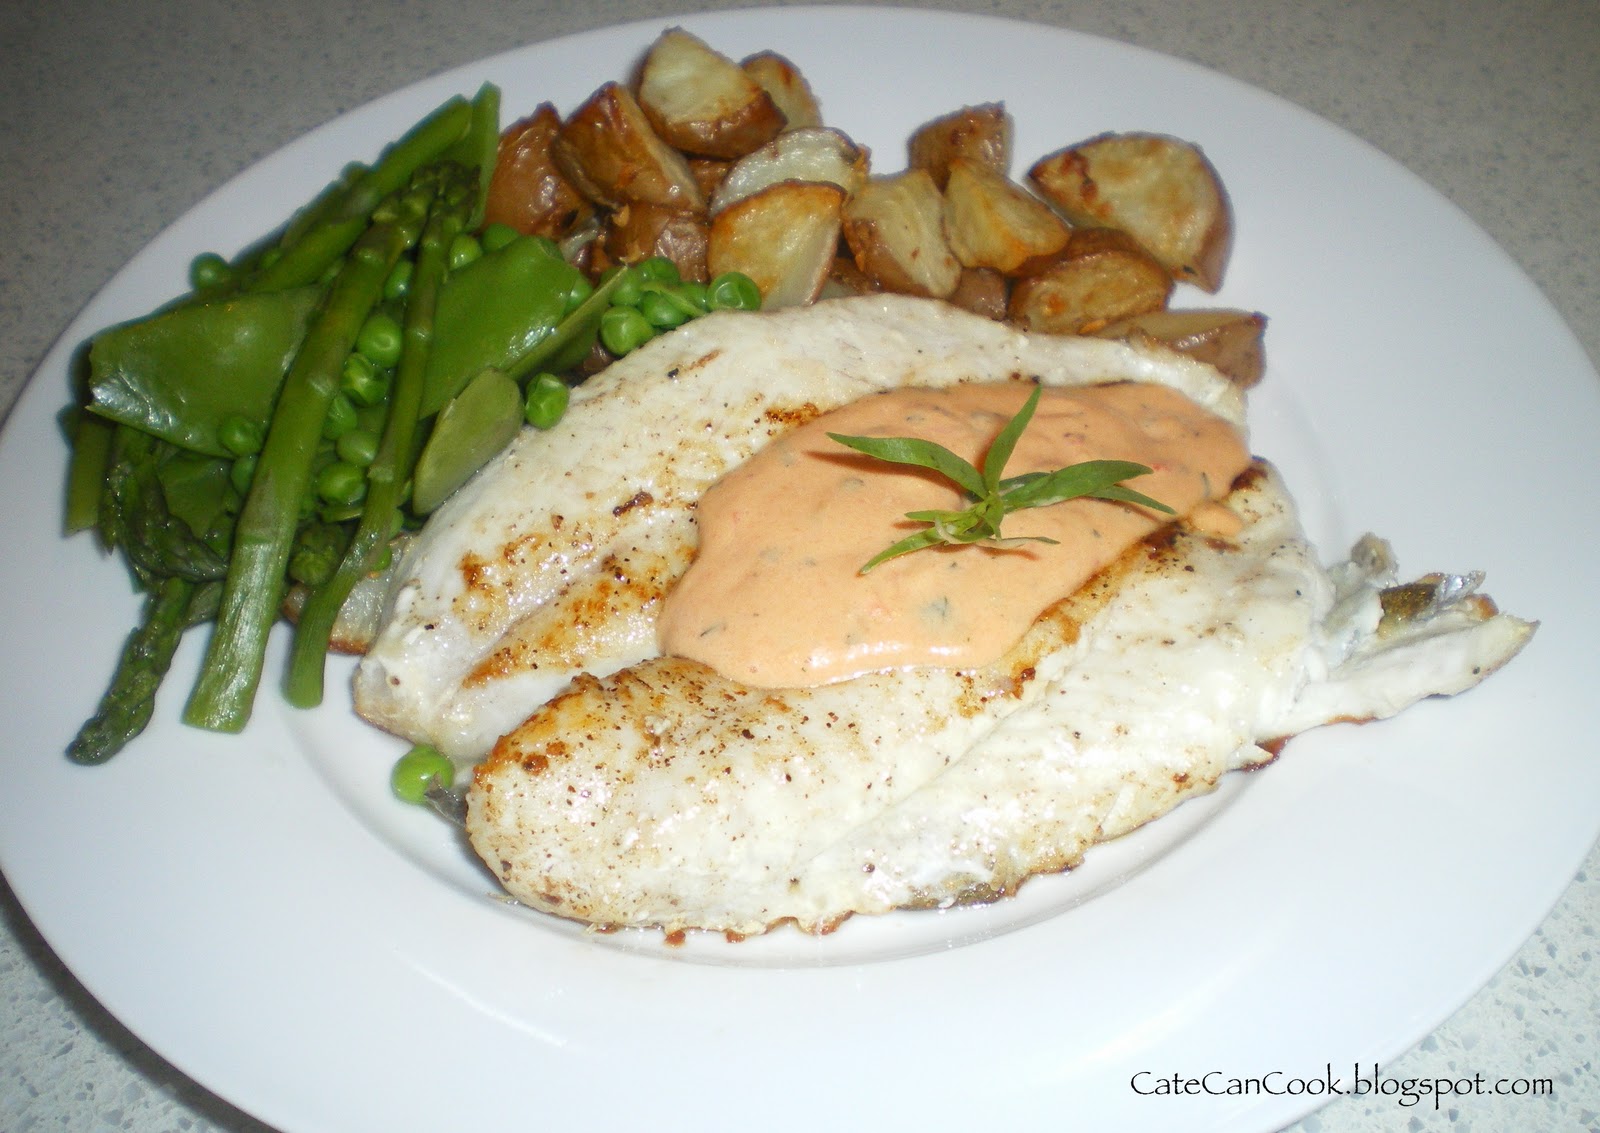
Silver Dory with Choron Bérnaise
From What's on the Menu with Justine Schofield
Serves 4
4 pieces silver dory
salt and pepper
olive oil
4 egg yolks
130g unsalted butter, diced
1 tbs taragon vinegar *
1/2 tbs tomato paste
1 tomato, deseeded, finely chopped
1 tbs tarragon, finely chopped
* To make tarragon vinegar you can add some chopped tarragon to white wine vinegar, and allow it to steep for several hours. Strain the leaves from the vinegar before use.
Season the fish fillets with salt and freshly ground black pepper. Set aside until the sauce is ready.
Insert the butterfly into the Thermomix bowl. Add the egg yolks, butter and vinegar. Cook for 8 minutes at 80 degrees on speed 3.
Add the tomato paste, chopped tomato and tarragon and mix for 30 seconds on speed 3. Season with salt and pepper to taste.
Heat the olive oil in a frying pan over medium high heat. Cook the fish skin side down for 2 minutes, flip over, and cook the flesh side for 1-2 minutes, or until golden and cooked through. My pieces were quite thin - so they needed very little cooking time.
Serve the fish with roasted garlic potatoes, steamed green vegetables and a dollop of the Choron Bérnaise.
Bérnaise sauce can be quite a tricky sauce to make. If not made properly and watched carefully it tends to split very easily. As you can see, making it in the Thermomix is a breeze - add all your ingredients and sit down and and have a glass of wine while you wait for it to cook!!!
"The Darlings" love to have bread with their meal so I thought I would try a little twist on the regular garlic bread. Rather than add the garlic and the butter to the cooked bread I thought I would incorporate roasted garlic and a some cheese into the bread dough and cook it all together!! One word - YUM!

Roasted Garlic and Cheese Bread
1 head (yes a whole head!) of garlic
520g bread flour
2tsp yeast
300ml warm water
1 tsp salt
1 tsp sugar
230g cheddar cheese
Preheat oven to 180 degrees. Place the head of garlic onto a piece of foil. Bake in the oven for 25 - 30 minutes, or until the garlic is lovely and soft. Allow to cool slightly.
Cut the cheese into cubes, place in the TM bowl and process for 8 seconds on speed 7. Remove the cheese from the bowl. Set aside.
Place the flour, yeast, salt, and sugar into the TM bowl. Pull the garlic head apart and gently squeeze the garlic from the skins. Place the garlic puree into the TM bowl with the flour mix. Add 120g of the grated cheese, and then the warm water. Knead for 4 minutes. Remove the lid from the TM. Lightly oil a piece of cling wrap and place the oiled cling wrap over the top of the TM bowl. I like to leave my bread for a long time to prove - once it had crowned above the top of the bowl I punched it down and let it rise again.
After the second proving I rolled it into a log shape and put it onto a piece of baking paper that was lightly sprinkled with polenta. I then cut several incisions all over the bread and filled these incisions with the reserved grated cheese, make sure you pull the dough back together to cover the cheese up. Repeat until almost all the cheese has been "hidden in the dough" - but make sure to reserve just a little to put on the top!!!

Preheat oven to 200 degrees. Bake for 25-30 minutes, or until golden, and it sounds hollow when tapped.
This bread was good!!! It was even better the next morning when it was toasted, topped with a poached egg and a dollop of the Choron Bérnaise - how's that for using up the leftovers????
I did make a dessert too - but you know what? I was not entirely happy with it. It was George Colombaris' Olive Oil Chocolate Mousse. Perhaps it was the chocolate I used - I used Lindt 80% - but it just didn't do it for me - too earthy, too bitter (the only highlight was the boozy berries I topped it with!) If I try it again I think I will not use such a bitter chocolate.


I was however so impressed with the roasted garlic bread that for pizza night tonight I am going to incorporate roasted garlic into the pizza dough!!!! Should give us pizzas with a little punch!!!!


